
Step 1:

Step 2:

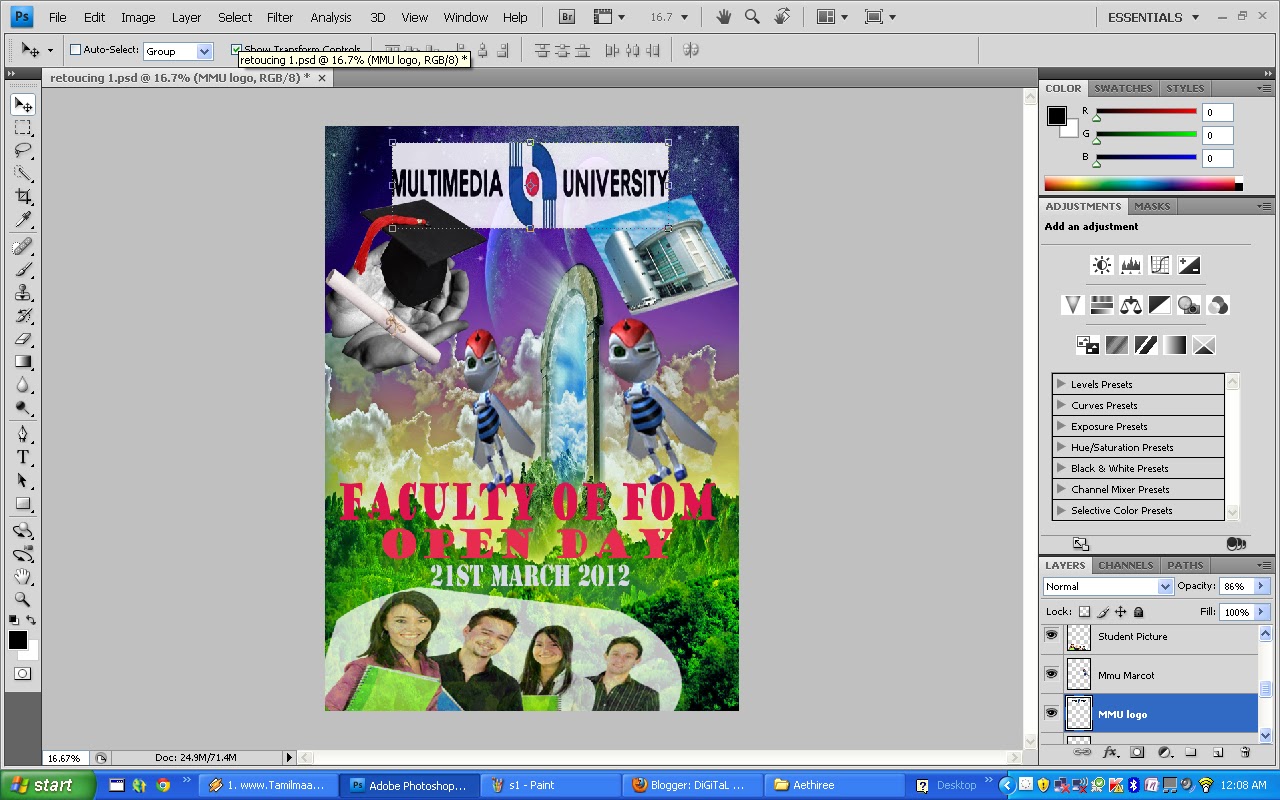
Then I choose MMU logo and I use rectangular marquee tool to crop the picture.I use move tool to the MMU logo to the slot. At last, I use free transform to resize the logo.
Step 3:

I use choose elliptical marquee tool to crop the Student picture. Then I use move tool to move the picture to the slot.I use free transfrom to make picture look bigger.
Step 4:

In step 4 I use losso tool to crop the MMU Macrot and open day logo.I use move tool to move the picture to the slot.I use free transfrom to make picture look bigger.I use rectangular marquee tool to crop the the FOM picture.I use move tool to the FOM Picture to the slot. At last, I use free transform to resize the logo.
Finnal Step:

I save the file in JPEG.
Tutorial 2
Step 1:

First I open new file and change Preset to International paper and the resolution to 72. Next, I open the red currtain picture. I use rectangular marquee tool to crop the part that i need. Then I drag and drop to the background. Then I adjust the Brightnees/ Contrast of the red currtain and also colour balance.
Step 2:

Then I open tutorial 1.
Step 3:

I take MMU logo from tutorial 1 and I move to the red currtain. Then i use free transform to move and resize the logo. Then I move student picture. Then I use free transform to adjust the picture.
I take MMU logo from tutorial 1 and I move to the red currtain. Then i use free transform to move and resize the logo. Then I move student picture. Then I use free transform to adjust the picture.
Step 4:
Then, I move the macrot picture to the red currtain. I use free transform to resize and rotate the picture.
Step 5:

At last I move FOM bulding picture to the red currtain.Then I use text tool to put text in.
Tutorial 4

This is my final out come.


Step 1:
I choose this as my background and I crop the part that I wan.

Step 2:
In this stage I open a hand picture and I use magnetic lasso tool to crop the hand picture. Then I drag it to the background.

Step 3:
Then I cap the convocation cap and move to the hand.

Step 4:
In this step I move the macrot and mmu logo to the background.

Then I move the student picture and I change the capacity. Then I add on the text.

Step 6:
Then I change the background because I find that got people that using the same background. Firstly I take picture for google and I open in Adobe Photoshop. Then I crop use rectangular marque tool. Then I move the crop picture to the A4 size paper. Then I use Clone stamp tools and I press Alt rub to the green colour trees. Then I click left mouse to the black are so that everthing in the bottom of the picture looks green.

Step 7:
In step 7 I click image,adjustment, and shadows/highlight and change the shadow to 8%.

Step 8:
I step 8, I change the midtones Cyan-Red to -90, Magenta-Green +18, Yellow-Blue +6.

Step 9:
In step 9, In open window then histogram. Then I choose Expanded view and RGB. The source I change to entire image.

Step 10:
In step 10, I go to Image, Adjustment and to replace colour. Then I choose select localized colour curters. Then I change the Fuzziness to 78 and the lightness to -42.

Step 11:
Then I move the hand picture to the background.

Step 12:
Then i move the convocation cap to the hand. I use free transform to adjust it.

Step 13:
In step 13, I move the MMU logo and change the capacity so it look bit lighter. Then i move Macrot picture.

Step 14:
In step 14, I drag macro picture and mmu student picture.

Step 15:
In this stage i Change the capacity of the student picture so that it look lighter. Then I add on some text.

Step 16:
In this stage I click image, adjustment,Hue/Saturation then i change the percentage.
Step 17:
I change the colour of text. Then I go to the MMU logo and I go to fliter then artistic then watercolour.


Final look of my work
Tutorial 5

Form the tutorial 3 & 4, I had delete 1 Macrot picture because it look messy. Then I change the MMU logo. Before this at the back of MMU logo got one layer of white background. I use magic eraser tool to erase the white background.

Step 2:
Firstly I choose 1 red stone wall form Google. Then I press shift and drag the picture to the Faculty of management and open day. From there I use free transform to re-size. Then at the layering I click right click and I click to the clipping mask. Then the stone picture will go into the alphabet. From there, I click double click at the stone layer, so that layer style come out. After that in bleding option I click drop shadow then I change the distance to 29px, spread 29%, size 57px.

In this step I erase the background of the student picture use Magic eraser tool.I use magic eraser tool and also background erase tool to eraser the fom building background.

This is My final look of my E- Wallpaper